Memorial Day weekend, the water still cold, and the new dock is on the lawn in boxes. By Sunday evening you want to be sitting on the end of it with your feet in the lake. Good floating dock installation is mostly planning: knowing your depth, bottom and rules before the first piece touches the water, then following the maker’s order of work. This guide walks through installing an inflatable dock and a rigid modular dock kit, the tools each needs, connecting to shore, the first-week checks and taking it out in the fall.
In short: check permits, depth and bottom first. An inflatable dock is inflated on a clean, flat surface to the maker’s pressure, carried (not dragged) to the water and anchored at every anchor point, away from piers and boats. A rigid kit is assembled section by section with couplers or connectors, pinned with pipes or anchored with weights, piling brackets or stiff arms, and joined to shore with a gangway. EZ Dock says most of its docks go in within a day with two people; Aquaglide recommends a dock and mooring specialist for its large anchored docks.
Before installation: rules, depth and bottom
- Rules. In US navigable waters, the Army Corps of Engineers counts boat docks and piers as structures that need a Department of the Army permit unless exempt or covered by a general permit. States add their own: Minnesota’s DNR lets many docks go in without a state permit if they meet conditions such as width and use, and leaves more to local rules; Illinois covers small private docks with a statewide permit that limits length, width and setbacks. Utility and reservoir lakes often have their own shoreline permits.
- Depth. Measure at the lowest water you expect, not today’s. RAVE and Aquaglide ask for at least 4 ft under their inflatable docks.
- Distance. Aquaglide’s Docking Station must sit at least 10 ft from shore. Leave room for the dock to swing on its lines.
- Bottom. Sand, mud, weed or rock decides the anchor; see how to anchor a floating dock.
- Neighbors and traffic. Keep clear of channels, swim areas and the property line.
Tools and parts
| Inflatable dock | Rigid dock kit |
|---|---|
| Pump with a gauge (hand pump usually included; electric saves time) | EZ Dock: in-water coupler tool, coupler nut tool, hammer, ratchet, 15/16 in wrench or socket, Phillips screwdriver |
| Anchors to the maker’s total weight, lines, shackles or carabiners, a bridle if the dock has several rings | Anchoring pipe (Connect-A-Dock’s kit leaves out the Schedule 40 pipe), or weights, piling brackets or stiff arms |
| Repair kit, ground sheet or tarp | Gangway or gangway hinge, cleats, bumpers |
| Two or more people to carry | A helper (two or more people recommended), a boat or waders |
Installing an inflatable dock
- Set the anchors first. Aquaglide’s manuals say to install anchors and mooring lines before inflating. Lower weights into place from a boat and mark them with a float.
- Unroll on a clean, flat surface. RAVE says to inflate on flat ground clear of sharp objects, or on the flat deck of a boat with the motor off.
- Inflate to the stated pressure and no more. RAVE’s Aqua Dock is 5 psi (“do not inflate beyond 5 psi”); BOTE gives 6 to 8 psi for its 7 ft dock and 8 to 10 psi for the 10 ft; other docks run up to about 15 psi. Island Hopper says its 10 x 6 ft dock takes about 8 minutes with the hand pump. An electric pump with auto-stop takes the effort out.
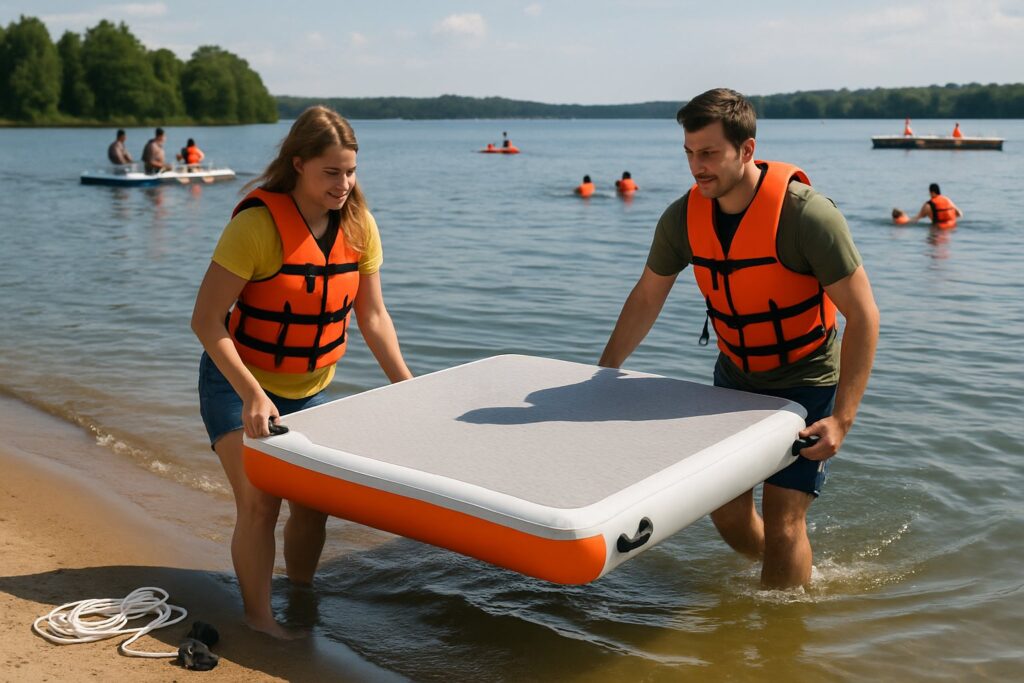
- Carry it to the water. RAVE says two or more people should carry an inflated dock and that you should not drag it.
- Attach to every anchor point and set the line length so the dock floats flat with a little slack.
- Keep it off hard objects. RAVE’s manual says not to connect its dock directly to docks, piers or other hard objects. Anchor it on its own, a swim away from the pier.
AIRBANK Puffer Pro Electric Pump
- Up to 20 psi
- Auto-off at set pressure
- 7 nozzles
JLF Inflatable Repair Kit with HH-66 Cement
- Five 3 x 6 in PVC patches
- 1 oz vinyl cement
- Valve wrench
Better Boat 3/8 in Nylon Anchor Line, 100 ft
- 820 lb working load
- Double-braided nylon
- Stainless thimble
Before you buy a pump, check that one of its nozzles fits your dock’s valve. Several docks we looked at use an H3 high-pressure valve (Solstice and Overton’s), and the JLF kit’s wrench fits 6-prong valves only, so check yours.
Installing a rigid floating dock kit
- Lay out the sections near the water in the order they will go, with the gangway end nearest shore.
- Join sections in the water. EZ Dock uses rubber couplers set with its in-water coupler tool; Connect-A-Dock’s kit has float connectors; Candock cubes screw together. Work outward from shore.
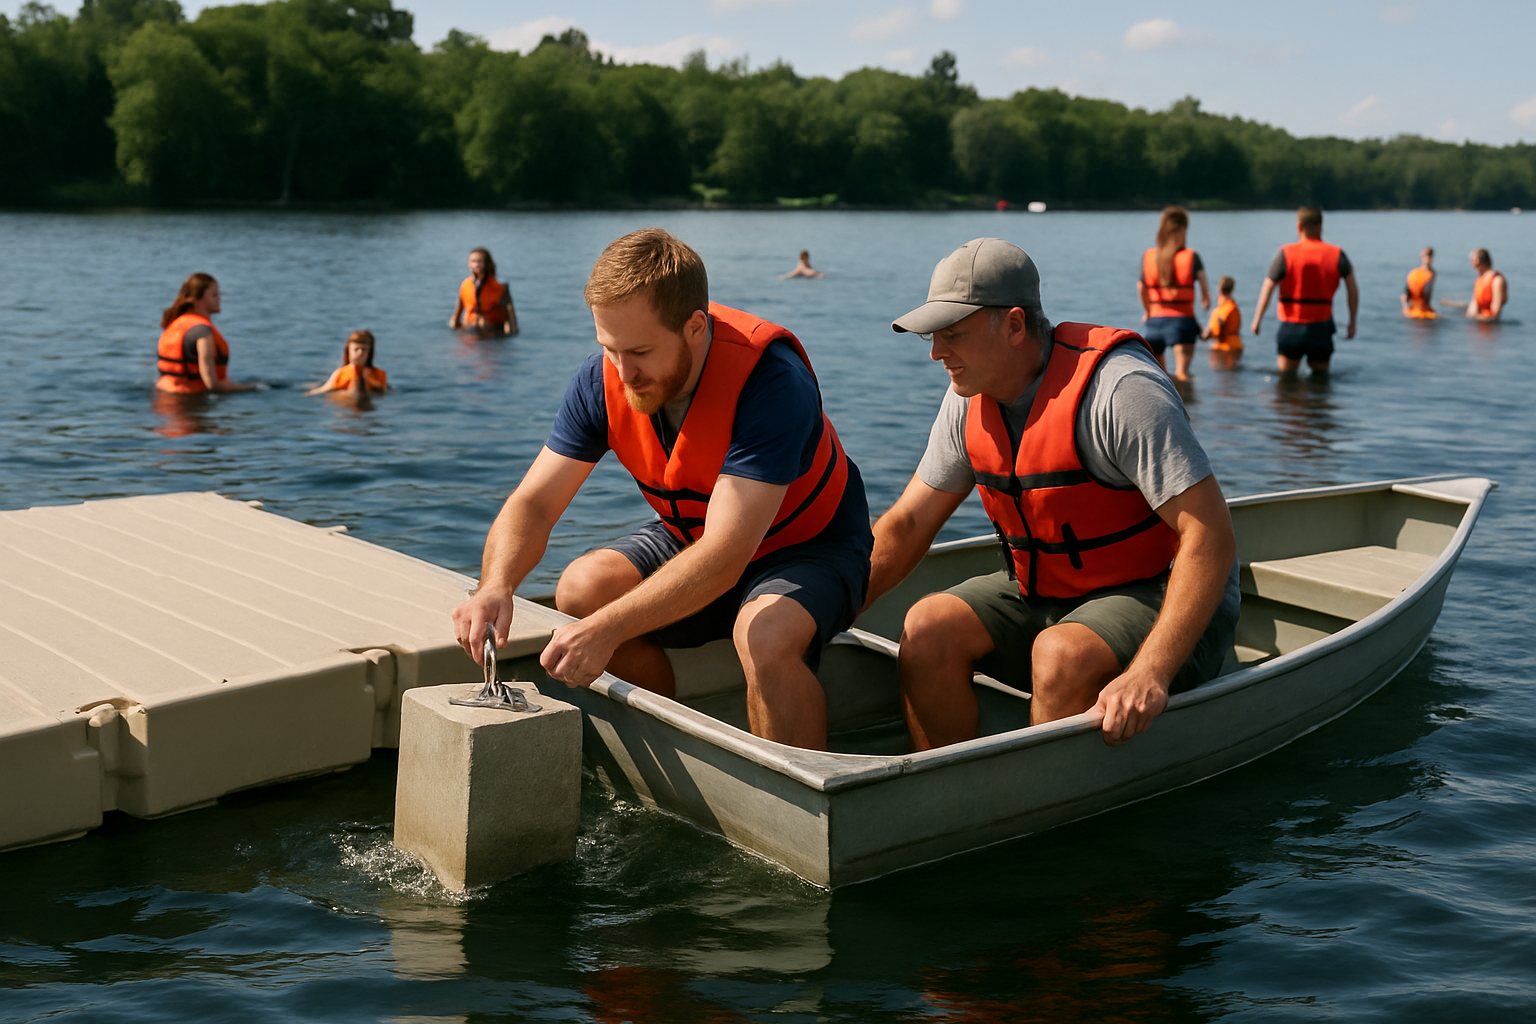
- Anchor as you go. Drive pipe through the pole anchoring connectors in shallow water, or fit deadweights, piling brackets or stiff arms as the dealer advises. The dock must still rise and fall.
- Connect to shore. Fit the gangway hinge and gangway. EZ Dock offers a hardware kit for a wooden gangway built from 2 x 12 boards, polyethylene gangways up to 18 ft, and aluminum ones.
- Add accessories such as cleats, bumpers, a ladder, a PWC port or a kayak launch, using the maker’s connectors.
EZ Dock says most docks can be installed in a day with you and a helper, or its dealers can deliver and install. Connect-A-Dock’s seller says its kit installs with simple hand tools and that one person can do it, though two or more are recommended. Heavy add-ons ship by freight; Wave Armor says its Sport jet ski port needs a forklift for delivery.
DIY or hire a pro?
A 10 ft inflatable and a short straight kit are reasonable DIY jobs for two people. Call a professional when the anchoring is heavy or the site is hard: Aquaglide advises a dock and mooring specialist for its Docking Station (1,100 lb minimum anchor weight) and C Lounge (4,400 lb). Get dealer quotes itemized, because prices are not always all-in; one dealer we checked listed its price as excluding installation, anchoring equipment and shipping. See floating dock cost for typical prices.
The first week
- Check position after the first hour and the first windy afternoon; add weight if it moved.
- Check inflatable pressure in the morning and in the afternoon sun; warm air expands.
- Tighten couplers, nuts and cleats on rigid docks; Candock tells owners to check nuts on cleats, ladders and pins occasionally.
- Walk the lines for chafe where they pass edges.
Taking it out for the season
For inflatables, RAVE’s manual says to bring the dock to land or deflate it on a boat deck, dry each side in the sun for at least 15 minutes, towel it dry, fold it in thirds and roll it loosely, then store it in a covered, shaded, cool, dry place off concrete and safe from rodents. Clean it with mild soap and fresh water, never solvents or a power washer. For rigid docks, Connect-A-Dock recommends removal for winter where ice shifts, and Candock says ice damage usually comes from ice moving in the spring thaw. Mark where your anchors are so next spring goes faster.
Aquaglide Docking Station
by Aquaglide
- Size (as stated): 14 ft 9 in x 10 ft 5 in x 6 in
- Stated capacity: 600 lb (3 adults + 3 children)
- Thickness: 6 in (15 cm) welded drop-stitch
BOTE Inflatable Dock 10 Classic
by BOTE
- Size (as stated): 10 x 10 ft x 8 in
- Stated capacity: 2,100 lb on BOTE's site (1,500 lb at some retailers)
- Thickness: 8 in
BOTE Inflatable Dock 7 Classic
by BOTE
- Size (as stated): 7 x 7 ft x 8 in
- Stated capacity: 1,050 lb
- Thickness: 8 in
Island Hopper Mega Yacht Dock 10 x 10
by Island Hopper
- Size (as stated): 10 x 10 ft
- Stated capacity: 2,000 lb load rating
- Thickness: 6 in
RAVE Aqua Dock 10
by RAVE Sports
- Size (as stated): 10 x 10 ft x 6 in
- Stated capacity: 1,800 lb / 10 adults
- Thickness: 6 in drop-stitch
Solstice Inflatable Dock 10 x 10
by Solstice Watersports
- Size (as stated): 10 x 10 ft x 6 in
- Stated capacity: 1,650 lb
- Thickness: 6 in drop-stitch
More in Setup and Care: how to anchor a floating dock, floating docks on rivers, floating dock kits vs inflatable docks and our older guide to inflating and installing a boat dock. Common questions are in the FAQ.
Installation questions
How long does floating dock installation take?
An inflatable takes minutes to inflate (about 8 minutes by hand for Island Hopper’s 10 x 6 ft dock, by the maker’s figure) plus the time to set anchors. EZ Dock says most of its rigid docks go in within a day with two people.
Can I install a floating dock by myself?
Plan on two people. RAVE says two or more should carry an inflated dock, and Connect-A-Dock’s seller recommends two or more for its kit even though one person can do it.
Can I attach an inflatable dock to my existing dock?
RAVE says not to connect its dock directly to docks, piers or other hard objects, and Aquaglide says never to tie its lakefront products to a dock. Anchor the inflatable separately.
What water depth do I need?
At least what the maker states, measured at low water: 4 ft for the RAVE and Aquaglide docks we checked. Rigid docks vary by system; ask the dealer.
Do I need a permit to install a floating dock?
Sometimes. Federal rules apply in navigable waters, and states, counties and lake authorities have their own. Call before you buy, not after it is in the water.